Question: I have images that need to go into a document and want to have captions with them when published, how do I do this?
Create a Frame in WorkBench
To have captions for images without using RTF frames, add a new frame, name it the same as your image frame with the TITLE appended to it e.g. PICTURETITLE or PICTURE_TITLE. Leave this frame as a plain text frame.
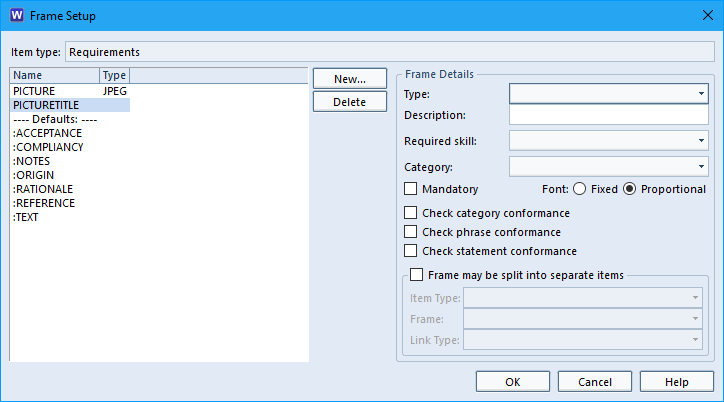
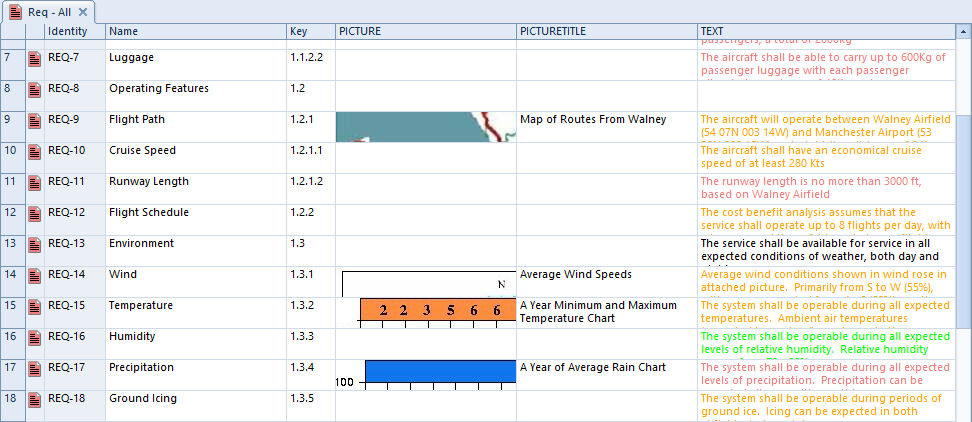
Run or open and item with the image you wish to set a caption for. Then enter the caption for the image in this new text frame.
Set the Options for Captions in Document Publisher
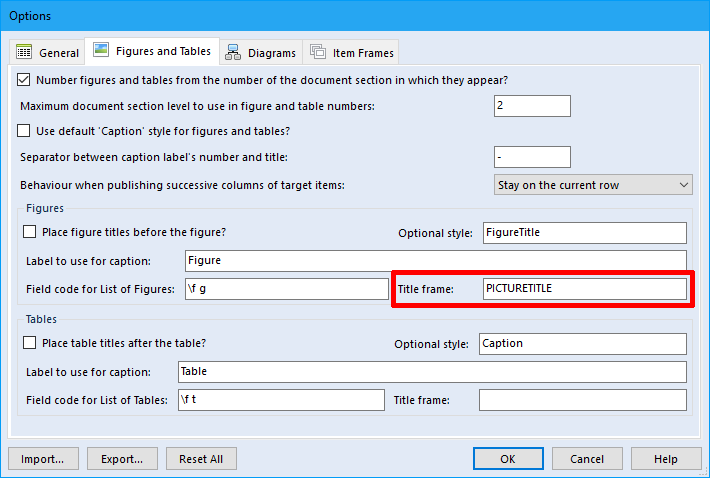
Open your template in Document Publisher and open the Option UI. Select the ‘Figures and Tables’ tab and enter the name of this frame in the box for ‘Title frame’.
If using a default Paragraph Group tag without Field tags then a user can add the PICTURE frame name to the ‘Frames to publish after TEXT and NOTES in the default layout’ under the ‘Item Frames’ tab.
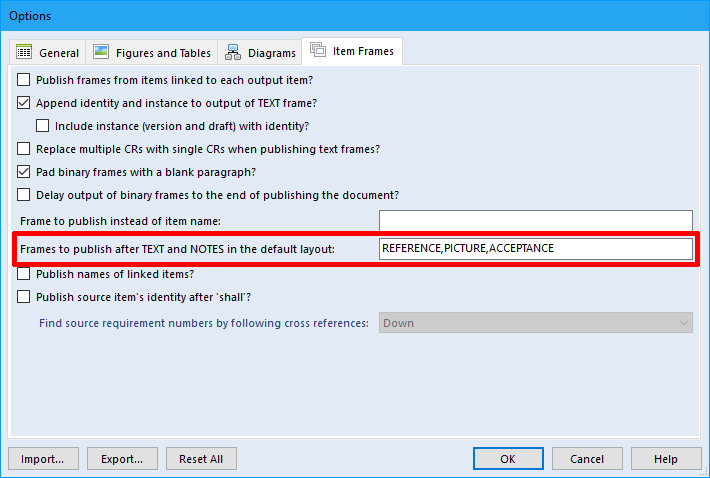
This will then output the default layout including the frames from the ‘Frames to publish after TEXT and NOTES in the default layout’ option. The text in the PICTURETITLE frame is used for the caption for each image. The captions then for each image will then be entered into the List of Figures during publishing.

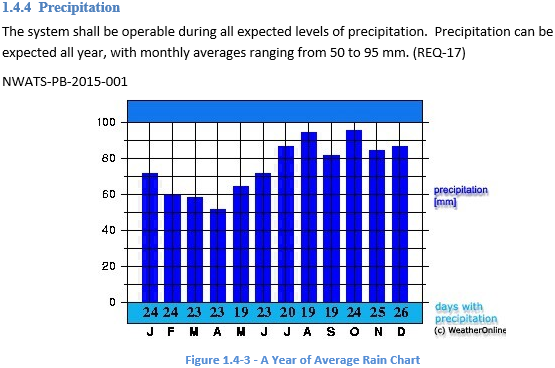
Using Field Tags
If the user wishes to use Field tags the option will work with these too. Add the field tag for the image in this case the PICTURE frame. As the template is published, the caption for the image is set from the PICTURETITLE frame. Again this will be picked up in the List of Figures when published.
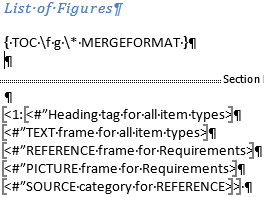
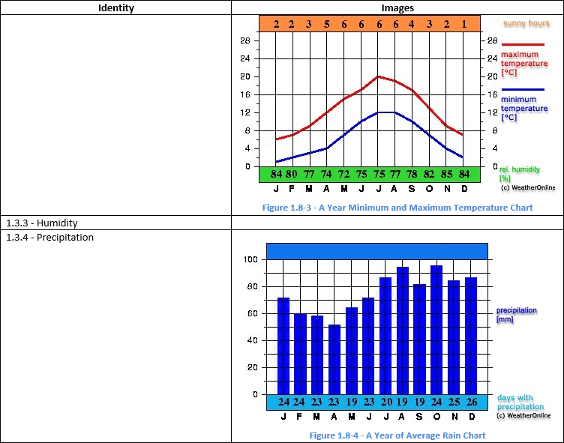
Using the PICTURE frame Field tags will also work within a Table or an Inserted Table. It will output the caption with the image and add it to the List of Figures when published.
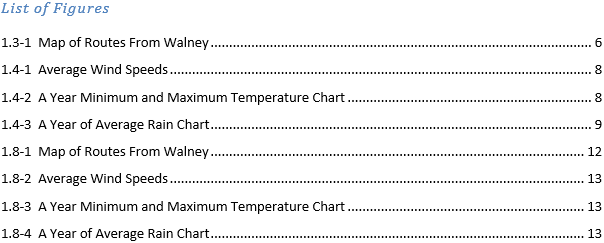
For more information on Document Publisher click here
Article updated 05/12/2018 – Changed to be an FAQ

